Description
DIY Garden Path Maker
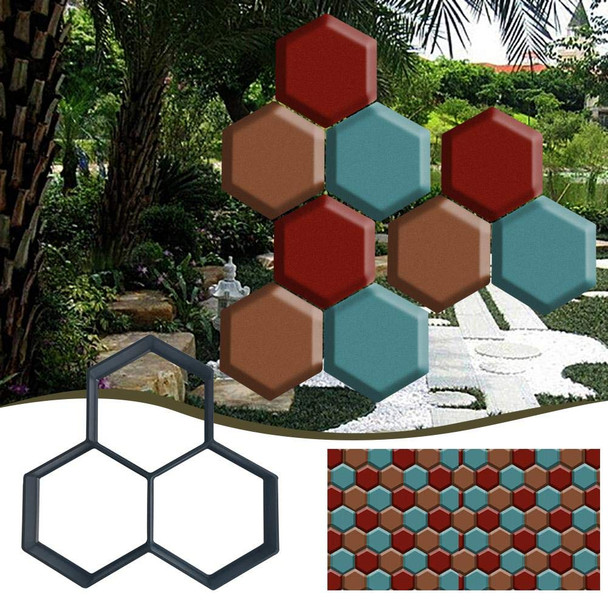
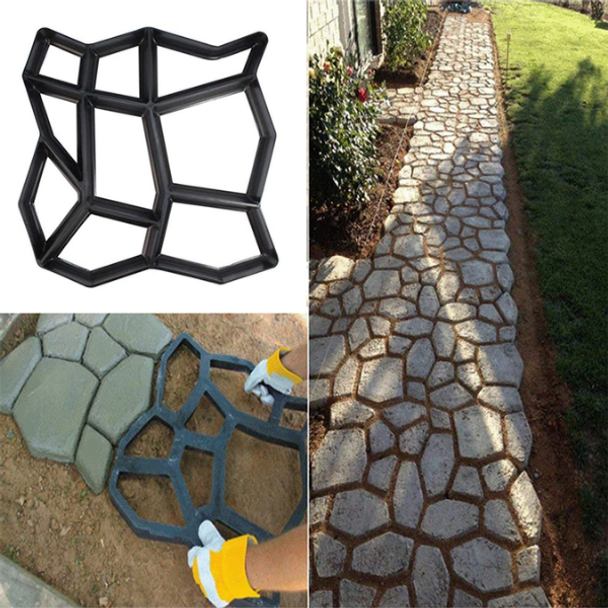
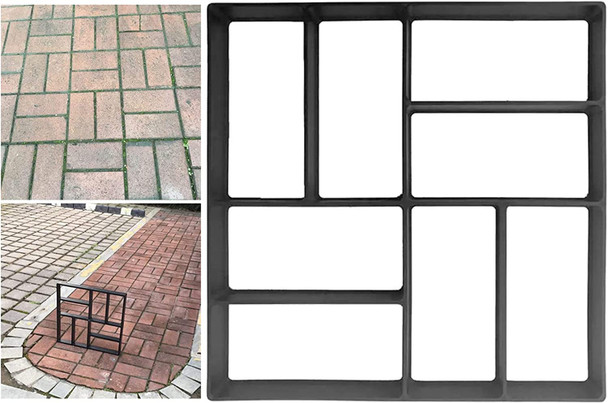
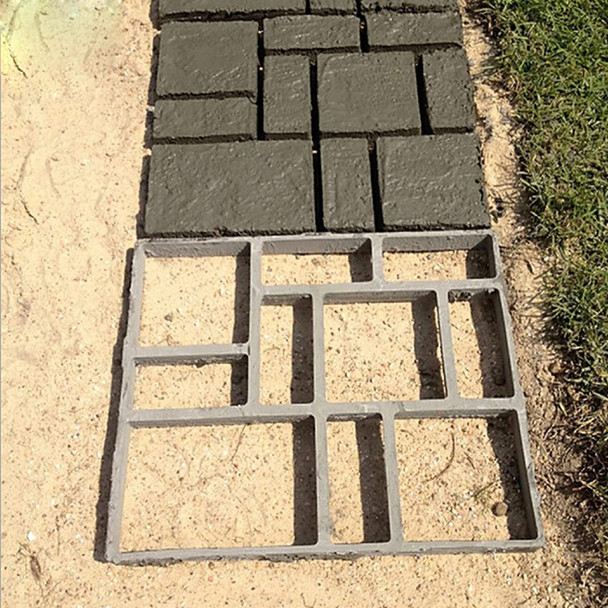
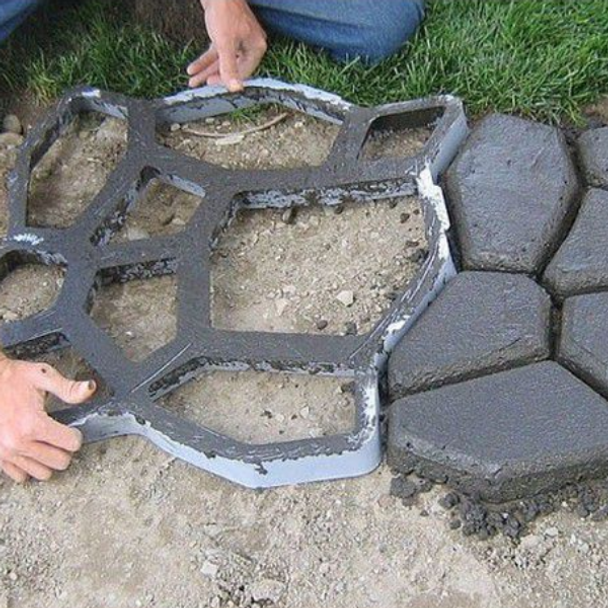
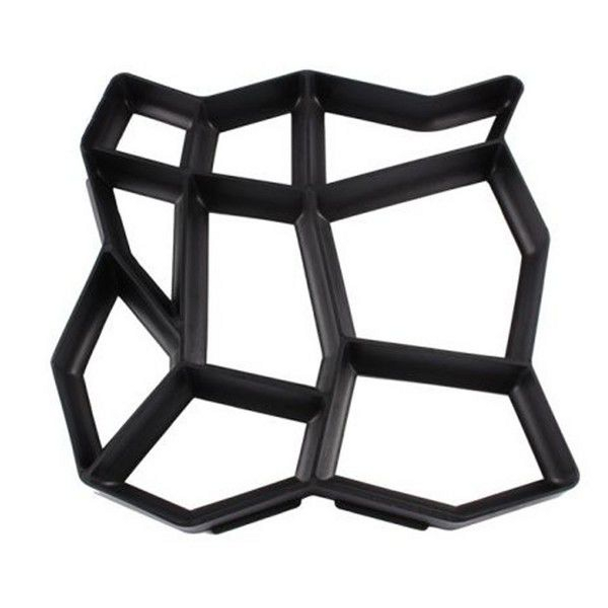
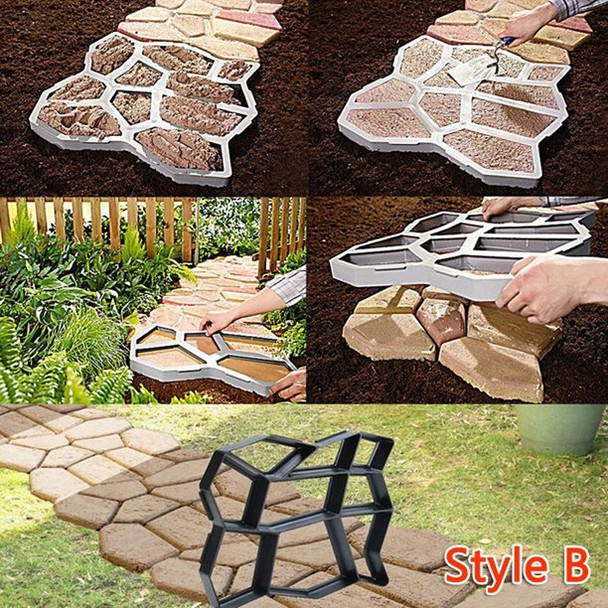
With this Paving Mould, you can personalize and create your own style garden path in minutes.
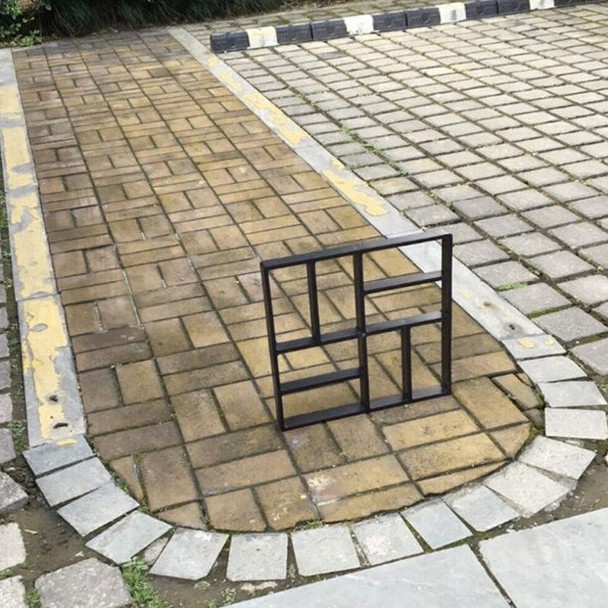
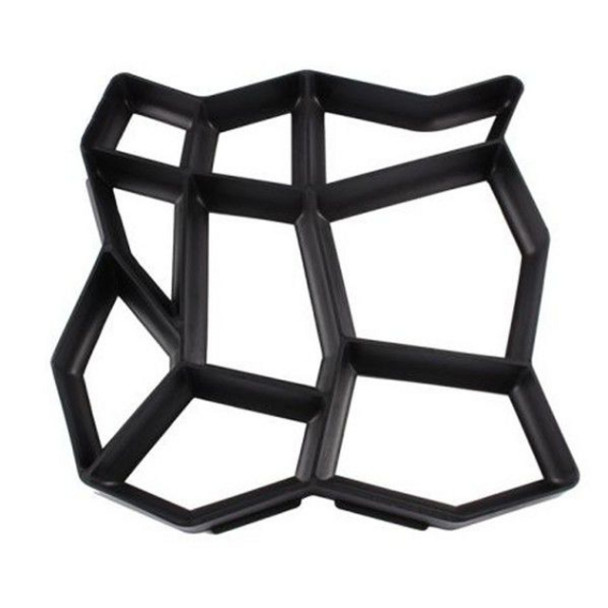
DIY plastic molded paving mold, is a personalized brick mold, laying out the effect posted up like blocks of stones, so the path is more exotic, to create a style of their own garden path.
Specifications:
- Material: PP Resin
- Color: Black
Sizes:
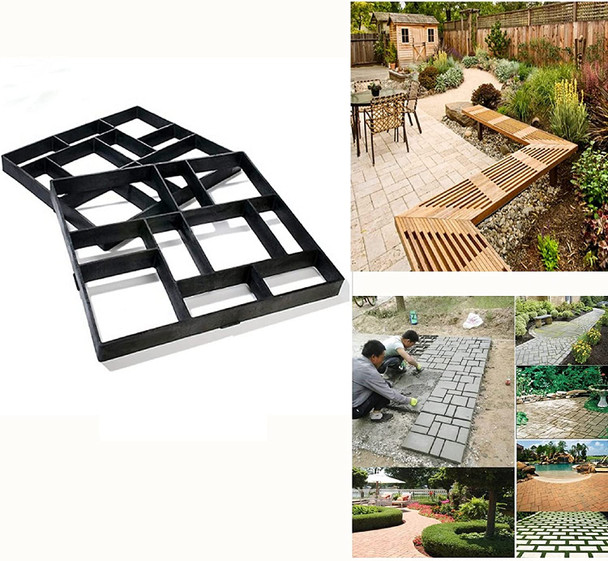
- Style A: 36x36x4cm Brick
- Style B: 43x43x4cm
- Style C: 36x36x4cm
Application:
- DIY houses, DIY design corridors, home roads, balconies, courtyards, gardens, vegetable plots, landscapes, swimming pools, art floors;
- Villas, plazas, municipalities, companies, factories, hotels, resorts, cafes, clubs, hot springs, building designers, and builders;
- Stand design personnel;
- An advertising company that temporarily installs a set due to the need for advertising photography;
Instructions:
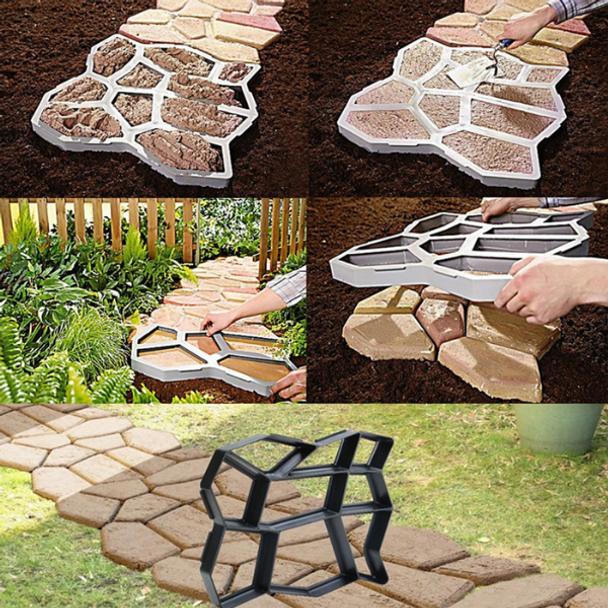
- Step 1: Mix cement with water, according to package directions. When ready to use, the concrete will be the consistency of oatmeal and thick enough to hold an edge when you slice into it with a shovel.
- Step 2: Fill the paver mold, scooping the concrete in with a shovel and making sure to fill each area.
- Step 3: Using rubber gloves, spread the concrete around the mold, filling in any gaps or low points. Tap the mold with your hand to eliminate any air bubbles.
- Step 4: Following the contours of the mold, smooth out the concrete, wiping away any excess.
- Step 5: Allow the concrete to set for a maximum of five minutes, then carefully remove the mold. For the next stretch, rotate the mold a quarter-turn and place it beside the paver just completed, angling slightly if you're creating a curving pathway.
- Step 6: After letting the concrete cure overnight, fill the cracks with dirt and wash away any excess. Wet the ground around the newly formed pavers to help them settle
Our Delivery Process
Product Category:
DIY & Outdoor
DIY & Outdoor/DIY
DIY & Outdoor/DIY/Home Improvement
Gifts for Him
Gifts for Friends
Promotions/Top Rated/Most Wanted
Promotions/Top Rated/Best Sellers Under R500
Christmas Budget/Under R200
Love-Struck Deals For Him
Deals Under R1000
Promotions/Top Rated/PAYDAY MAGIC SALE/Under R500

